This post contains affiliate links, meaning that as an Amazon associate, I may earn a small commission at no extra cost to you if you make a purchase through these links. For more details, please read our disclosure policy.
How to Start a Bullet Journal in February: No Experience Needed (Step-by-Step Guide)
February might seem like an odd time to start something new, but it’s actually the best month for trying out bullet journaling. The month is short, which means less pressure to maintain a complicated system.
You’re also past the overwhelming New Year resolution energy, so you can start fresh without all that intensity.
If you’ve been looking at gorgeous bullet journal spreads on Pinterest and thinking “I could never do that,” I have good news. You absolutely can.
The fancy layouts you see online are beautiful, but they’re not required. A bullet journal is just a tool to help you organize your thoughts, track your goals, and remember what matters.
It can be as simple or as decorated as you want.
The creator of the bullet journal system, Ryder Carroll, designed it to be practical and flexible. It’s not about having perfect handwriting or artistic skills. It’s about creating a system that works for your real life.
If you can write a list and draw a box, you can bullet journal.
This guide will walk you through everything you need to know to start your first bullet journal in February, even if you’ve never done anything like this before.
A few simple pages can make your whole month feel organized
What You Actually Need to Get Started
Here’s the truth about bullet journal supplies: you only need two things to start. A notebook and a pen. That’s it.
Everything else is optional.
Now, certain supplies will make the process easier and more enjoyable.
A dotted notebook gives you guidelines without being too structured. The dots help you keep things straight and aligned without the rigid feel of lined paper.
You can find excellent dotted notebookson Amazon that fit your budget. The Leuchtturm1917 is popular because it comes with numbered pages and an index already built in, but the EMSHOI A5 dotted journal is a great budget option that performs just as well.
For pens, you want something that doesn’t bleed through your paper. Gel pens work well for most notebooks.
The Pilot G2 pens are reliable and affordable. If you want to add some color or try hand lettering, the Tombow Dual Brush Pens come in beautiful sets and they’re easy to control.
A ruler helps keep your lines straight, especially when you’re setting up monthly calendars or habit trackers. A simple 12-inch clear rulerfrom any office supply section works fine.
Once you get comfortable with the basics, you might want to add washi tape for quick decoration, stickers for themed spreads, or stencils for consistent shapes. But don’t buy all of this upfront.
Start simple and add supplies only when you know what you’ll actually use.
The biggest mistake beginners make is buying too much too soon. You don’t need a $40 notebook and a complete set of imported markers to get started.
Pick up an affordable notebook and use whatever pens you already have at home. You can always upgrade later once you know this is something you’ll stick with.
Before you start drawing anything, you need to understand the core parts of a bullet journal.
There are four main components: the index, the future log, the monthly log, and the daily log.
The index is like a table of contents for your journal. Since you’re creating pages as you go rather than using a pre-printed planner, the index helps you find things later.
You’ll list what’s on each page and the page number so you can flip back to it when needed.
The future log is your year-at-a-glance view. This is where you write down important dates, events, and goals for the months ahead. It keeps you from forgetting about that dentist appointment in April or your friend’s birthday in June.
The monthly log is where you plan out each month. It usually includes a calendar view and a task list for everything you want to accomplish that month.
This is where you’ll spend most of your time setting up at the beginning of each month.
The daily log is your day-to-day space. This is where you write your tasks, notes, and events as they happen.
Some people set up their daily logs a week at a time, others do it day by day. There’s no wrong way to do it.
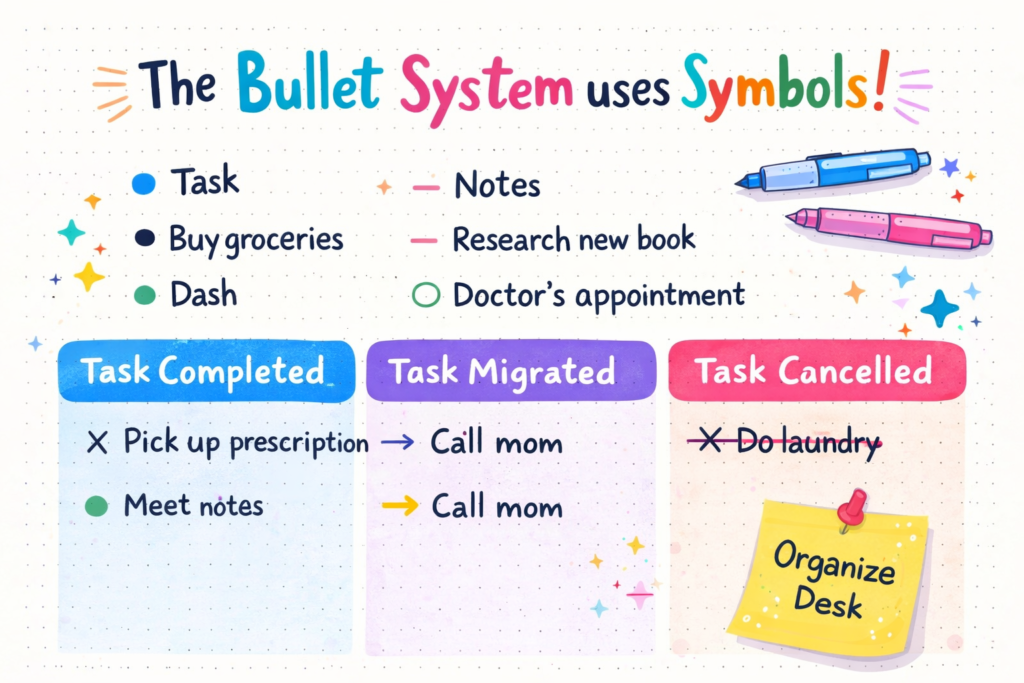
The bullet system uses simple symbols to categorize your entries:
A dot means it’s a task you need to complete.
A dash means it’s a note or information to remember.
A circle means it’s an event or appointment.
When you finish a task, you turn the dot into an X.
If you need to move a task to another day, you turn the dot into a right-facing arrow.
If something isn’t important anymore, you cross it out completely.
This system keeps everything organized without needing different colored pens or complicated coding.
You can customize these symbols if you want, but the basic system works really well on its own.
How to Set Up Your Bullet Journal
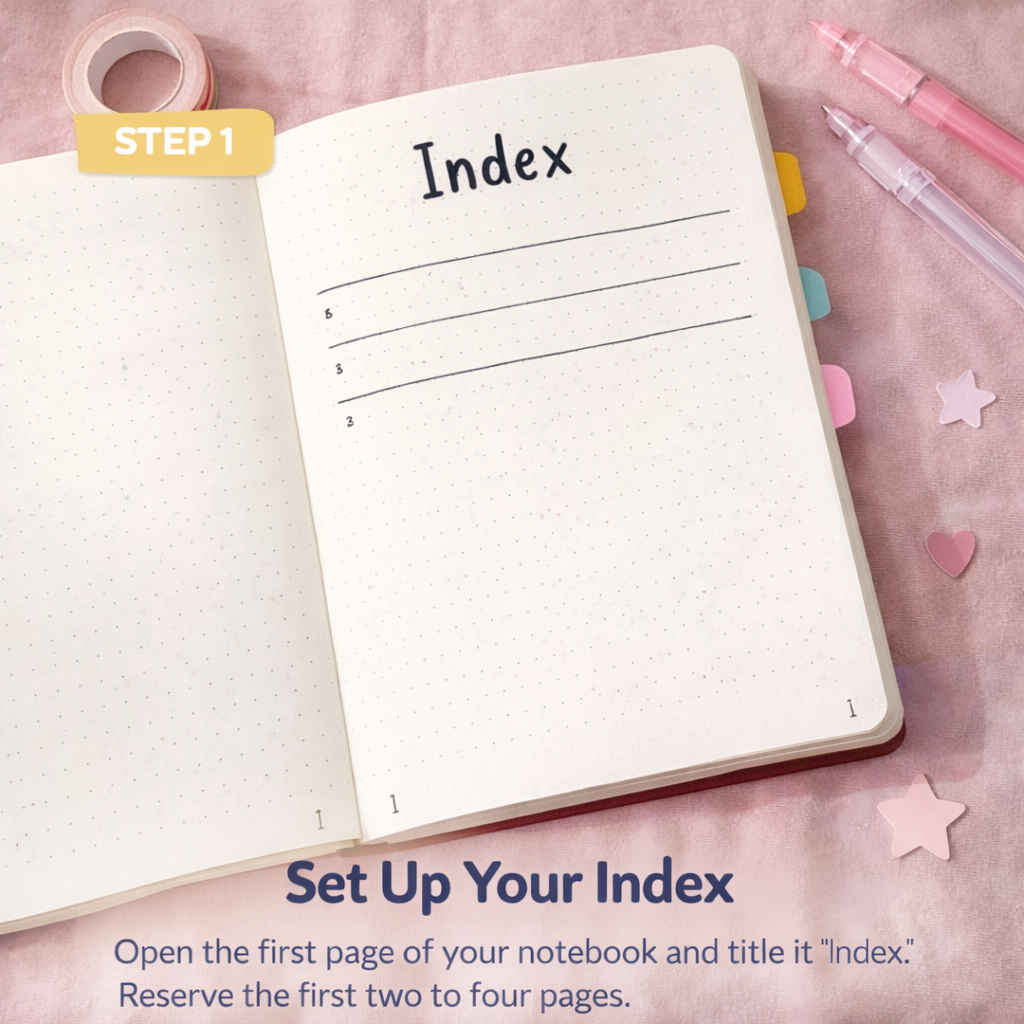
Step 1: Set Up Your Index
Open your notebook to the very first page. Write “Index” at the top. That’s it for now.
Reserve the first two to four pages for your index. You won’t fill these in right away.
As you create new pages throughout your journal, you’ll come back here and list them with their page numbers.
If your notebook doesn’t have numbered pages, number them yourself as you go. Just write a small number in the corner of each page.
This seems tedious; but it makes your index actually useful, because without page numbers, you can’t find anything later.
Some people like to split their index into categories like “Monthly Logs,” “Habit Trackers,” and “Collections.” Others just list everything chronologically.
Try the simple chronological approach first. You can always get fancier in your next journal if you want.
The index is one of those things that seems unnecessary until you need to find that recipe you wrote down three weeks ago or the book list you made in your January spreads. Then it becomes your best friend.
After your index pages, you’ll set up your future log. Since you’re starting in February, you can either create a log for February through December, or wait and set up a full year log when you start your next journal in January.
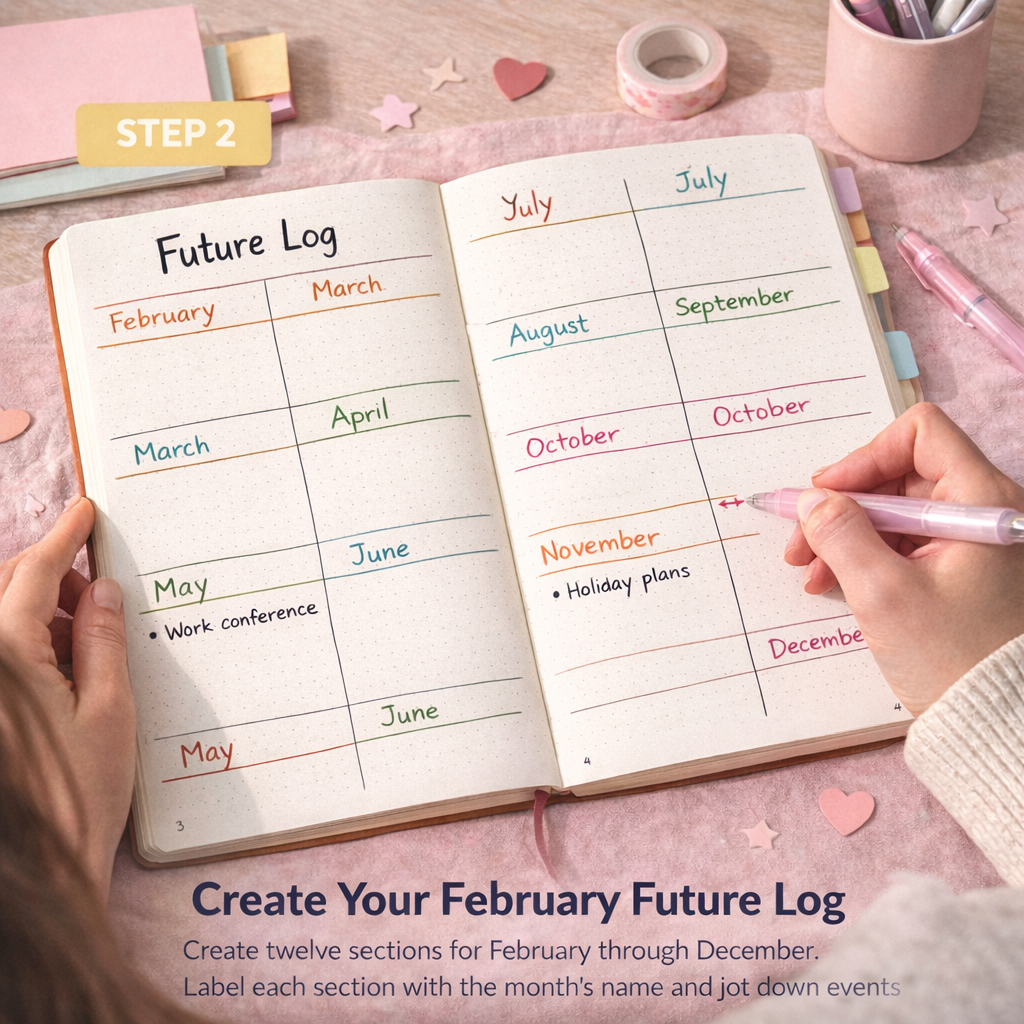
For now, let’s create a simple February through December future log.
Divide two pages into twelve sections (or eleven if you’re skipping February since you’ll have a whole monthly spread for it).
Label each section with a month name.
In each month’s section, write down any events, appointments, or goals you already know about. Maybe you have a work conference in May, a vacation in July, or holiday plans in December.
Write those down.
This gives you a big picture view of the year ahead.
You don’t need to fill in every month right now. The future log is something you’ll reference and add to throughout the year.
When someone mentions their wedding is in September, you can flip to your future log and jot it down so you don’t forget.
Keep this simple.
Just the month name and a short list of important things. You’ll get more detailed in your monthly spreads.
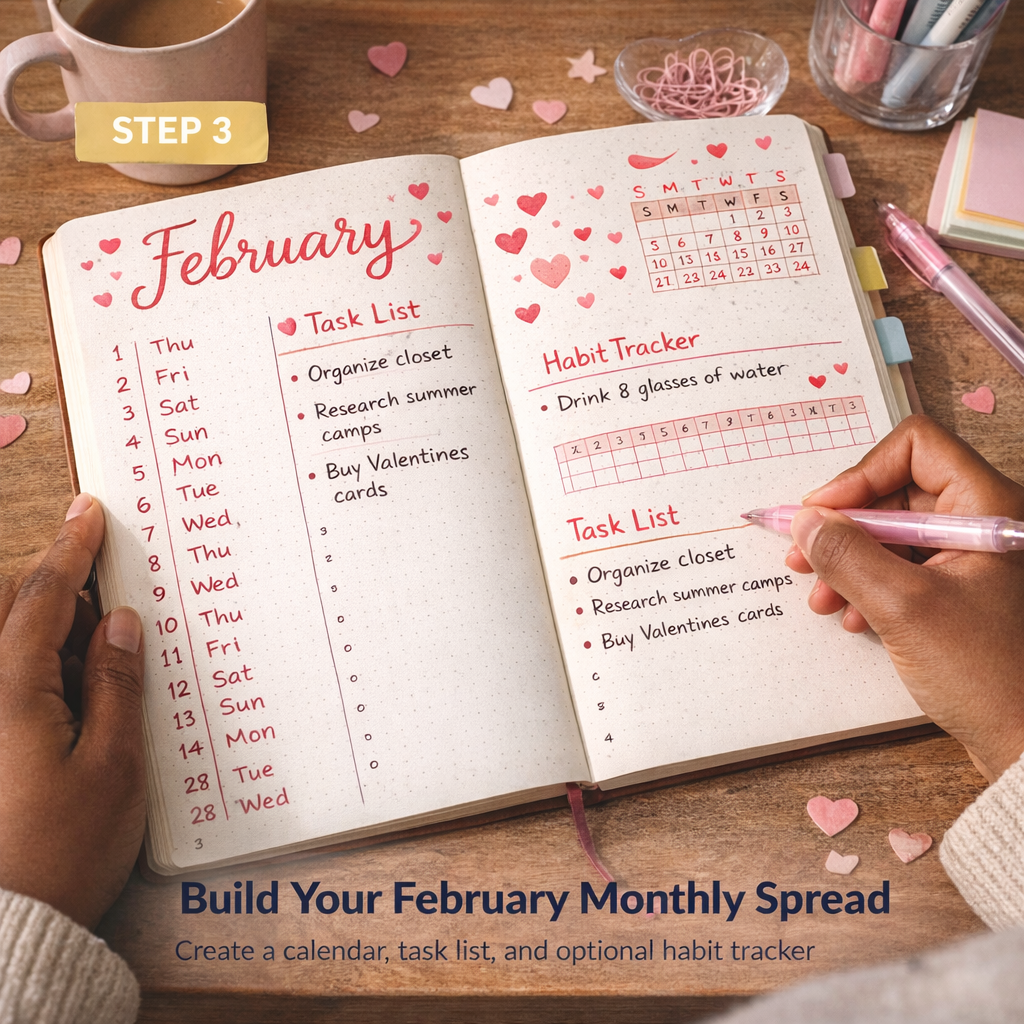
This is where things get fun. Your February monthly spread is the heart of your bullet journal for this month.
Start with a calendar view. You can lay this out however makes sense to you.
Some people create a traditional calendar grid with boxes for each day. Others write the dates vertically down the page.
The mini calendar approach is popular too, where you draw a small calendar in one corner and use the rest of the page for tasks and notes.
Since February has 28 days this year, a vertical list actually works really well.
Write the numbers 1 through 28 down the left side of your page. Next to each number, write the day of the week (Friday, Saturday, Sunday, etc.).
This gives you a quick reference for the whole month without taking up much space.
On the facing page or in the space below your calendar, create a task list. These are things you want to get done sometime in February but they’re not tied to a specific date.
Things like “organize closet,” “research summer camps,” or “call insurance company” go here.
Add a habit tracker if you want to monitor daily habits.
Draw a grid with 28 boxes (one for each day of February). Label it with the habit you’re tracking, like “drink 8 glasses of water” or “10 minutes of reading” or “take vitamins.”
Each day you complete the habit, fill in that day’s box. By the end of the month, you’ll see your patterns clearly.
You can also add a mood tracker, a spending log, or a gratitude list.
But start with just one or two trackers.
You can always add more next month if these feel manageable.
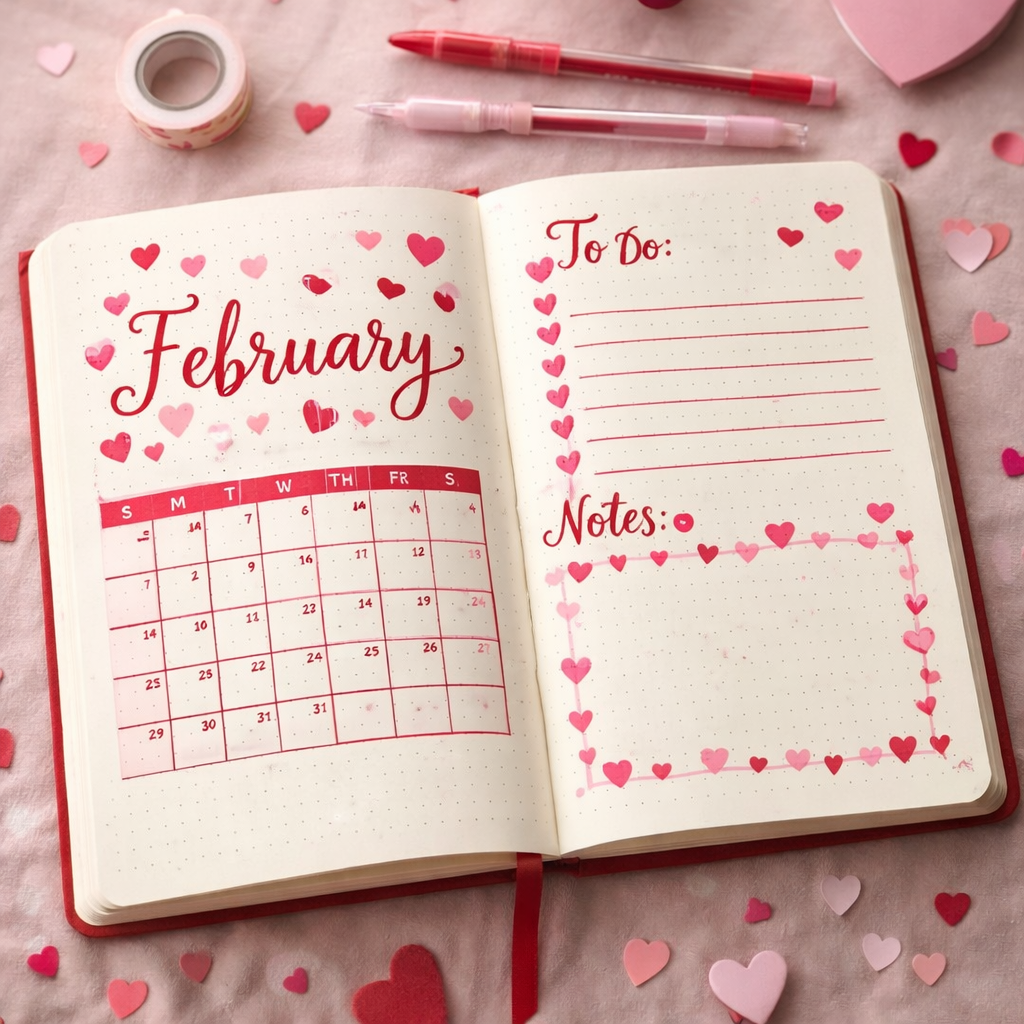
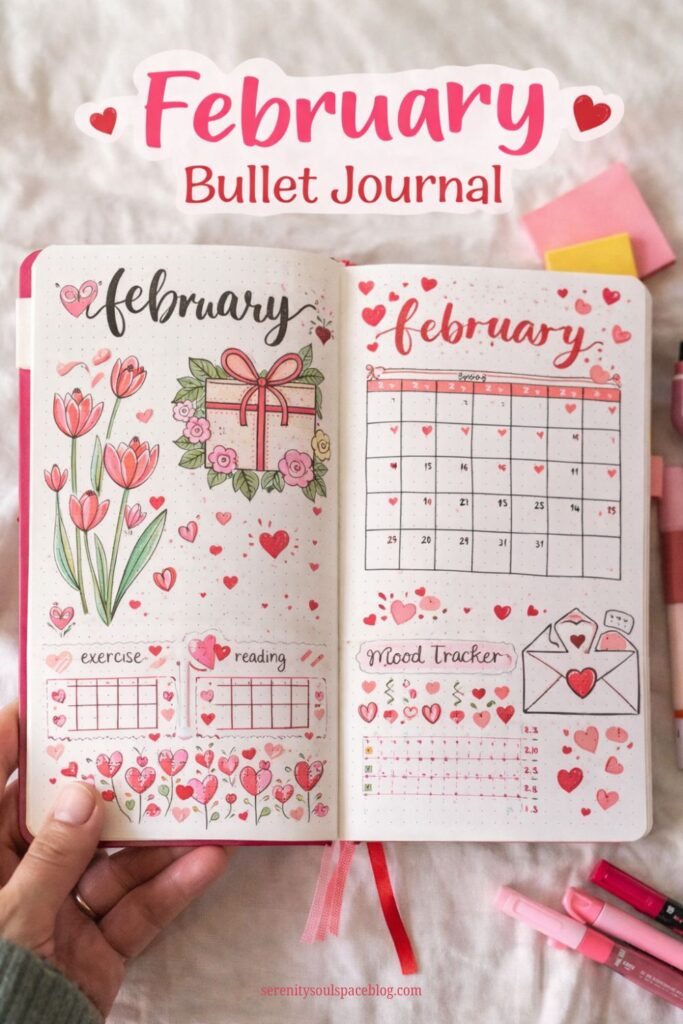
February is the perfect month to play with Valentine’s themes if you want. Use pink and red markers, add little heart doodles, or keep it simple with clean black lines. Both approaches work.
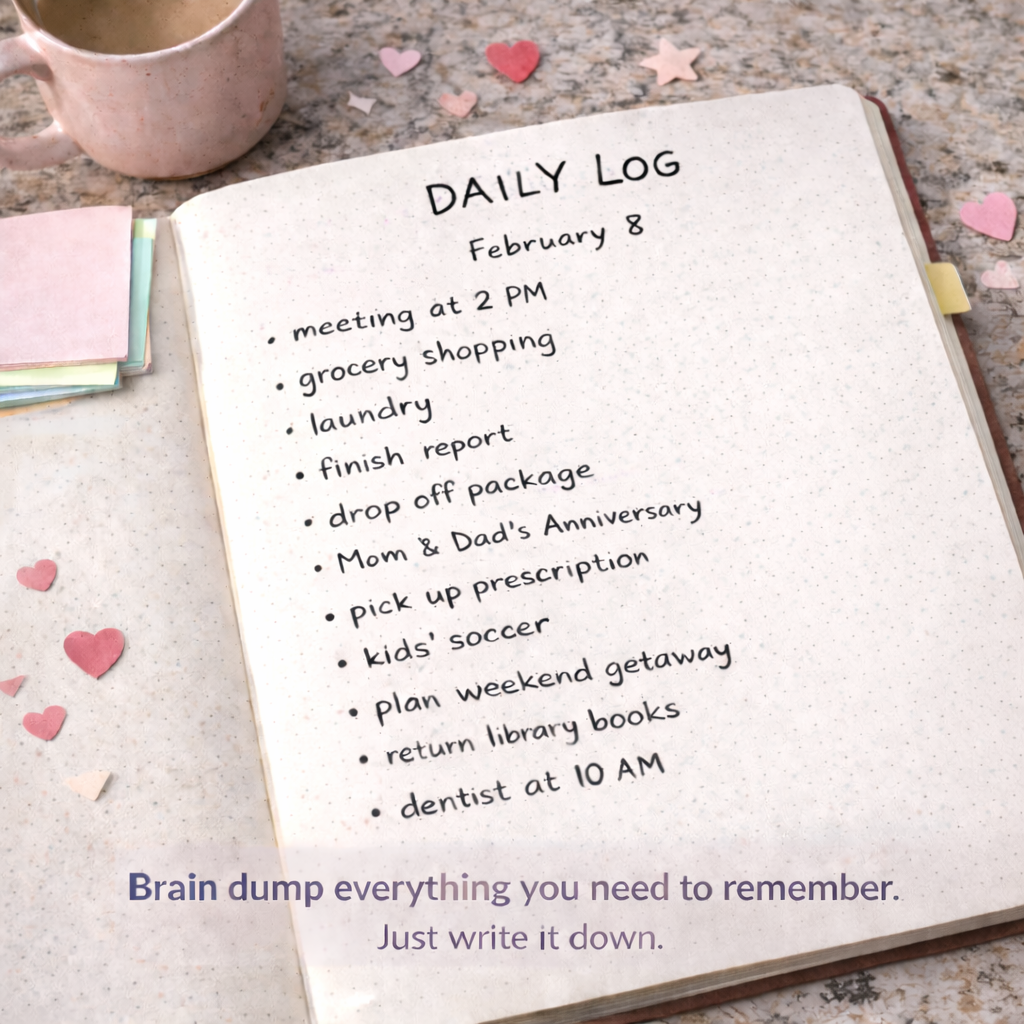
Daily logs are where the real work happens. This is where you track what you’re doing each day.
At the start of each day (or the night before), turn to a fresh page. Write the date at the top. Then start listing your tasks, notes, and events using the bullet system you learned earlier.
A typical daily log might look like this:
February 2
✔️ Email Sara about project deadline
✔️ Buy groceries
✔️ Remember to get dog food
✔️ Call dentist to reschedule ○ Team meeting at 2pm
✔️ Boss mentioned new training program
See how simple that is?
The dots are tasks, the dashes are notes, and the circle is an event. As you complete tasks throughout the day, you’ll come back and turn those dots into Xs.
Some days you’ll have a full page of tasks and notes. Other days you might have three lines. That’s completely normal.
Don’t force yourself to fill a whole page if you don’t need it. Just move on to the next day.
If you want to make your daily logs a little prettier, add a simple header with the date, draw a line underneath it, or use washi tape to mark the top of the page. But decoration is totally optional. Function matters more than appearance.
The daily log is your space to brain dump everything you need to remember.
Beyond your daily and monthly logs, you can create collection pages for specific things you want to track or remember.
Mood trackers are really popular for February. You can create a simple calendar grid and color in each day based on your mood.
Use different colors for different emotions: yellow for happy, blue for calm, red for stressed, gray for low energy.
By the end of the month, you’ll see patterns in your mental health that you might not notice day to day.
A budget tracker helps you monitor spending, which is especially useful after the holidays when credit card bills are still rolling in. Create categories for groceries, entertainment, gas, and miscellaneous expenses.
Write down what you spend as it happens. This awareness alone can help you cut back in areas where you’re overspending.
If you’re trying to read more, create a reading log. List the books you read in February with the date you started and finished. Add a star rating or a few words about what you thought. This becomes a lovely record to look back on.
Self-care trackers help you monitor things like skincare routines, exercise, meditation, or therapy appointments.
You can track anything that matters to your wellbeing.
The key is to only track things that serve you. Don’t create ten different trackers just because they look cute on Pinterest.
Pick one or two things you genuinely want to monitor and start there. You can always add more pages later if you find tracking helpful.
Simple February Theme Ideas for Beginners
You don’t need to be an artist to make your bullet journal look nice. A few simple touches can make your pages feel special without requiring hours of work.
For February, pink and red color schemes work beautifully. Use these colors for headers, to fill in habit tracker boxes, or to highlight important tasks. If Valentine’s colors aren’t your thing, try cozy winter neutrals like browns, creams, and soft grays.
Washi tape is the easiest way to add decoration. Run a strip of tape along the top or bottom of your page as a border. Use it to flag important pages.
Tape comes in every pattern imaginable, and February-themed options with hearts, flowers, and romantic patterns are everywhere right now.
Stickers are another low-effort decoration option. Add a few small hearts to your monthly calendar, use flower stickers on your habit tracker, or place motivational quote stickers on pages where you need encouragement.
Just don’t go overboard!
A few well-placed stickers look intentional. Too many looks cluttered.
If you want to try hand lettering, practice writing your headers in simple block letters or bouncy script. You don’t need fancy calligraphy skills.
Just write a little bigger and a little slower than usual. It automatically looks more interesting than your regular handwriting.
Remember that white spaceis beautiful too. You don’t need to fill every inch of your page with decoration.
Clean, simple layouts with plenty of breathing room often look more elegant than busy, over-decorated pages.
Tips for Actually Sticking With It
Starting a bullet journal is easy. Maintaining it is where people struggle. Here’s how to make it a habit that actually lasts.
★ For your first week, just focus on daily logging. Don’t worry about making it perfect or setting up elaborate spreads. Get comfortable with the basic practice of writing down your tasks and crossing them off. Once that feels natural, you can add more complex elements.
★ Accept right now that you’re going to miss days. You’ll forget to write in it. You’ll get busy. Life happens. When you miss a day or three, just start again where you left off. Don’t try to fill in what you missed. Don’t restart the whole journal. Just pick up today and keep going.
★ Set aside five to ten minutes each day for your bullet journal. Morning works well for planning your day. Evening works well for reflecting on what happened. Pick a time that fits your routine and try to stick with it.
★ Keep your journal somewhere visible. If it’s buried in a drawer, you’ll forget about it. Leave it on your nightstand, your desk, or your kitchen counter. The more you see it, the more likely you are to use it.
Adjust your system as you go. If monthly habit trackers aren’t working for you, drop them.
If you need more space for daily tasks, give yourself more space. This is your system. Change it whenever it stops serving you.
Common Beginner Mistakes to Avoid
New bullet journalists tend to make the same mistakes. Here’s what to watch out for.
Don’t make your system too complicated from the start. You don’t need twelve different trackers, color-coded symbols, and elaborate spreads in your first month. Start simple. Add complexity only if you need it.
Stop comparing your journal to the perfect spreads you see on Pinterest. Those people have been doing this for years. They spend hours on a single page.
Your journal doesn’t need to look like theirs to be useful. A messy, functional journal is better than a pretty journal you’re too intimidated to actually use.
Don’t track everything just because you can. Pick two or three things that genuinely matter to you.
More tracking doesn’t mean more productivity. It often just means more time spent filling in boxes instead of actually doing things.
Number your pages as you create them. This seems obvious, but lots of people skip this step and then their index becomes useless.
Just write a small number in the corner. It takes two seconds.
When you mess up, don’t rip out the page and start over. Cross it out, draw an arrow to where you continued, or just leave it and move on.
Mistakes are part of the process. A journal with crossed-out errors and imperfect lines is a journal that’s actually being used.
Making February Your Testing Ground
February is short, which makes it less intimidating than starting in a 31-day month. You can try out this whole system for four weeks and see if it works for you without committing to a massive time investment.
Use this month to figure out what you actually need from an organizational system.
Maybe you’ll find that daily logging is incredibly helpful but habit trackers just create guilt; or maybe you’ll realize you need more space for work tasks and less for personal stuff.
Pay attention to what works and what doesn’t.
By March, you’ll have a much better sense of how to set up your next month. You’ll know which spreads you actually used and which ones you created but never looked at again.
This learning process is valuable. Your March spreads will be better because you learned from February.
The beauty of bullet journaling is that it grows with you.
Your system in February can look completely different from your system in December, and that’s exactly how it should be. You’re not locked into any particular layout or structure.
If you get to the end of February and decide bullet journaling isn’t for you, that’s fine too.
You tried something new, learned what doesn’t work for your brain, and you get the final say to move on or not. But chances are, you’ll find at least some elements of this system helpful enough to continue.
Grab a notebook, pick up a pen, and start with today’s date.
Write down three things you need to do.
That’s your first bullet journal entry, and everything else builds from there.
")


